
Dr Ahsan Tariq , MBBS, MRCP (UK ) ongoing, IMT ( Internal Medicine Trainee, NHS England), GMC : 7805049
Dr Ahsan Tariq is a UK-registered medical doctor with a background in internal medicine and a focus on evidence-based research in cognitive health and nootropics. He critically reviews scientific studies, supplements, and ingredients to help readers make informed, safe, and effective choices for brain health and performance.
Introduction: How to Remove a Continuous Glucose Monitor
Continuous Glucose Monitors (CGMs) have transformed diabetes management by providing continuous glucose readings, reducing the need for frequent fingersticks, and helping users understand glucose trends in real-time. While these devices are incredibly beneficial, proper removal is crucial to avoid pain, skin irritation, or infection. This article will provide an in-depth, step-by-step guide on how to remove a CGM safely and effectively, along with tips, aftercare, and expert advice to ensure the best results.
Understanding Continuous Glucose Monitors
What Is A Continuous Glucose Monitor?
A Continuous Glucose Monitor (CGM) is a small sensor placed under the skin that tracks glucose levels throughout the day. The sensor transmits data to a receiver or smartphone, providing real-time feedback and trends. CGMs eliminate the need for multiple finger-prick tests and offer insights that can improve diabetes management [1].
Benefits Of Using A CGM
- Real-time glucose monitoring helps users make informed lifestyle and insulin decisions [2].
- Reduced finger pricks lead to less pain and better compliance [3].
- Alerts for high and low glucose levels increase safety [4].
- Better understanding of glucose patterns allows for improved long-term health outcomes [5].
When To Remove Your CGM
End Of Sensor Life
CGM sensors have a limited lifespan, typically between 7 and 14 days, depending on the brand. Removing a sensor at the end of its life ensures accurate readings and prevents skin irritation or adhesive residue buildup [6].
Skin Reactions
Some users may experience redness, itching, or swelling at the sensor site. These reactions can indicate irritation or an allergic response to the adhesive. Immediate removal is advised if these symptoms occur [7].
Device Malfunction
If a CGM sensor stops transmitting data or provides inconsistent readings, it may need to be removed to maintain accurate glucose monitoring and prevent any health risks [8].
Preparing For CGM Removal
Gather Your Supplies
Before removal, gather necessary items:
- Adhesive remover or medical tape remover
- Alcohol wipes
- Sterile gauze
- Bandages
- Optional: Aloe vera or other soothing ointments [9]
Wash Your Hands
Proper hand hygiene is essential to prevent infection. Wash hands thoroughly with warm water and soap for at least 20 seconds [10].
Clean The Area
Gently clean around the sensor with an alcohol wipe to reduce the risk of infection and ensure the skin is ready for the sensor removal process [11].
Step-By-Step CGM Removal
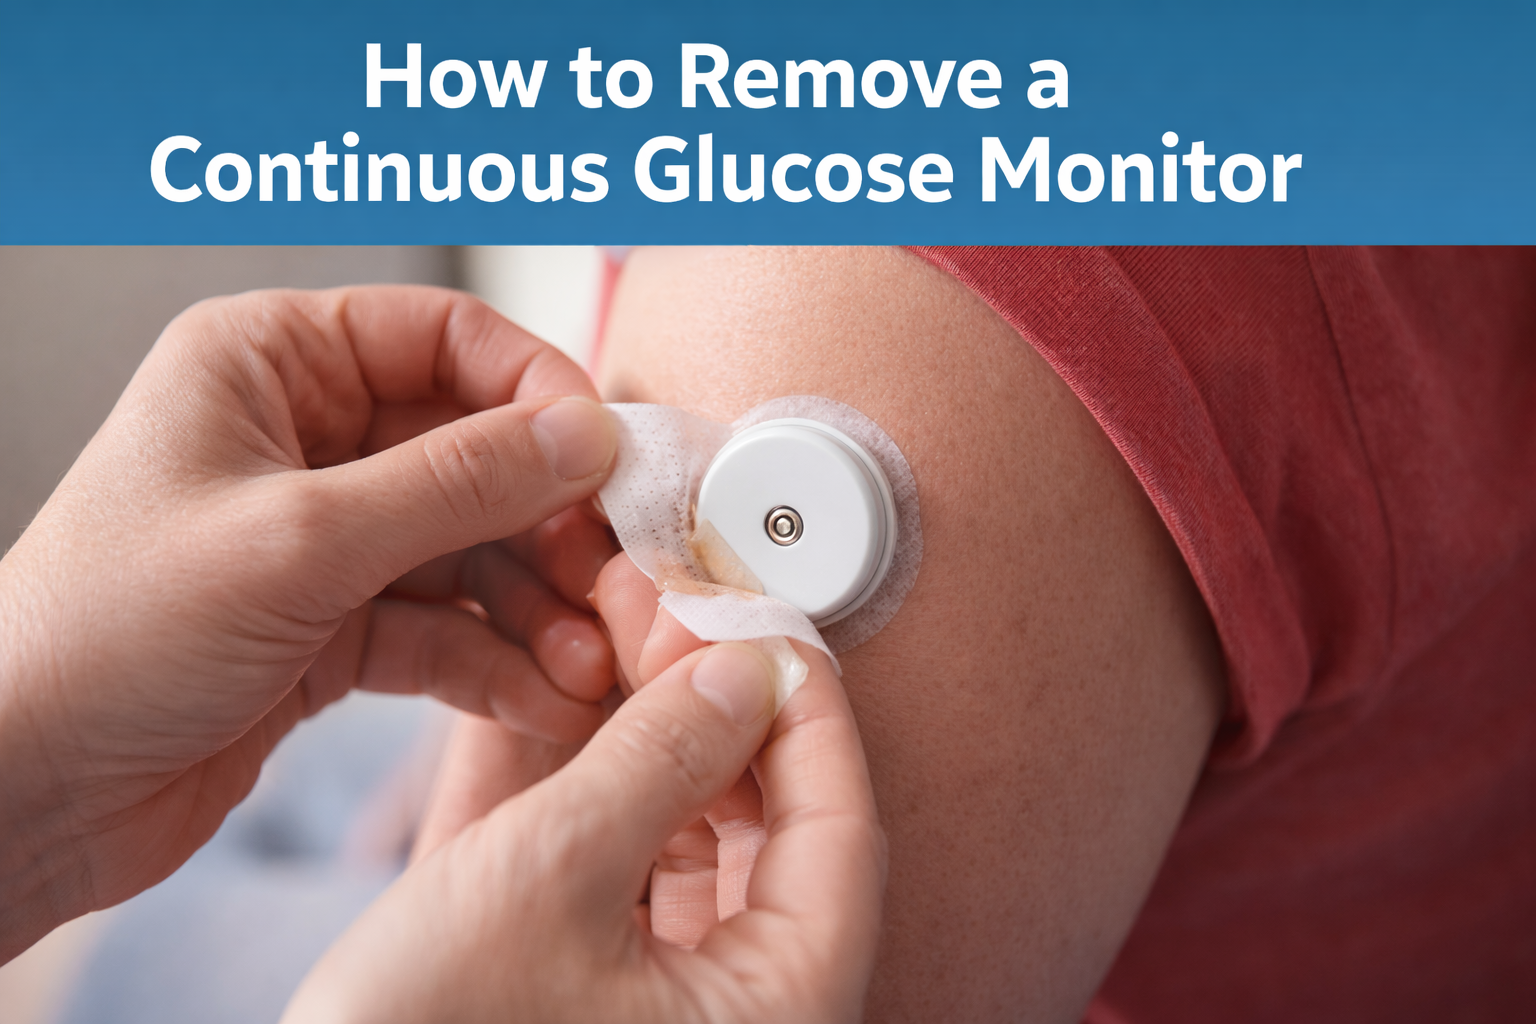
Loosen The Adhesive
Apply an adhesive remover around the edges of the sensor and wait for 30-60 seconds to soften the adhesive. This reduces pain and skin trauma during removal [12].
Gently Remove The Sensor
Hold the skin taut near the sensor and slowly lift the sensor away from the skin. Avoid pulling quickly to prevent tearing or irritation [13].
Inspect The Site
After removal, check the area for redness, swelling, or irritation. Clean the site with an alcohol wipe to prevent infection [14].
Apply Aftercare
Cover the site with sterile gauze or a bandage. Apply soothing ointment if needed. Avoid tight clothing or friction on the area [15].
Tips For Minimizing Pain And Irritation

| Tip | Description | Reference |
|---|---|---|
| Warm Compress | Apply before removal to soften adhesive | [16] |
| Slow Removal | Reduces risk of skin tearing and pain | [17] |
| Use Adhesive Remover | Protects sensitive skin | [18] |
| Hydrate Skin | Moisturize before sensor application | [19] |
| Rotate Sites | Prevents irritation and allows healing | [20] |
Common Mistakes To Avoid
Pulling Too Quickly
Quick removal can cause skin tears, pain, and increase the risk of infection [21].
Ignoring Skin Reactions
Persistent redness, swelling, or rash should not be ignored. Seek medical advice if symptoms worsen [22].
Reapplying On The Same Spot
Avoid placing a new sensor on the same site immediately. Allow the skin to heal for at least 24 hours [23].
After Removal Care
Monitor For Infection
Signs of infection include redness spreading beyond the site, pus, persistent pain, or warmth. Seek medical attention if these symptoms appear [24].
Skin Healing
Apply a soothing ointment or aloe vera to promote healing. Avoid harsh chemicals or scrubbing the area [25].
Prepare For The Next Sensor
Rotate insertion sites to allow healing. Common sites include the abdomen, upper arm, or thigh. Avoid scarred or irritated areas [26].
Benefits Of Proper CGM Removal
- Reduces the risk of skin irritation and infection [27]
- Extends sensor life by preventing adhesive residue buildup [28]
- Improves overall comfort and user experience [29]
- Ensures accurate glucose readings and reliable monitoring [30]
FAQs
Q1: Can I remove a CGM while it’s still transmitting data? Yes, but expect a short interruption in glucose readings until a new sensor is applied [1].
Q2: What if my skin is sensitive to adhesives? Use hypoallergenic adhesives or protective barrier wipes before sensor placement [2].
Q3: How long should I wait before placing a new sensor? Wait at least 24 hours or until the skin has fully healed [3].
Conclusion
Proper removal of a Continuous Glucose Monitor is essential for safe, comfortable, and effective diabetes management. By following the steps outlined in this guide preparing the area, loosening adhesive, removing slowly, and practicing proper aftercare, you can minimize pain, prevent infection, and ensure optimal sensor performance. Awareness and proper technique are key to maintaining healthy skin and achieving the full benefits of CGM technology.
References
- American Diabetes Association. Continuous Glucose Monitoring Overview. 2020.
- Heinemann L. Continuous Glucose Monitoring Benefits. Diabetes Care, 2018.
- Battelino T, et al. CGM Improves Glycemic Control. J Diabetes Sci Technol, 2019.
- Dexcom G6 User Guide. Dexcom Inc., 2021.
- Garg S. Skin Reactions to CGM Sensors. Diabetes Technol Ther, 2017.
- Klonoff DC. Device Accuracy and Malfunction in CGM. J Diabetes Sci Technol, 2015.
- Mayo Clinic. How to Remove Medical Adhesives Safely. 2022.
- CDC. Handwashing Guidelines. 2021.
- NHS. Wound Cleaning Instructions. 2020.
- Abbott FreeStyle Libre Manual. Abbott Laboratories, 2021.
- Brownlee M. Diabetes Management Tools. Diabetes Care, 2020.
- JDRF. CGM Skin Care Tips. 2022.
- Cleveland Clinic. Aftercare for CGM Sites. 2021.
- American Academy of Dermatology. Adhesive Removal Tips. 2019.
- Mayo Clinic. Skin Safety During CGM Removal. 2020.
- Johnson & Johnson. Adhesive Removers for Sensitive Skin. 2018.
- Healthline. CGM Site Preparation Guide. 2021.
- Diabetes UK. Common CGM Mistakes. 2020.
- ADA. Skin Reaction Management for CGM Users. 2019.
- Medtronic. CGM Sensor Placement Tips. 2021.
- Mayo Clinic. Infection Warning Signs. 2020.
- WebMD. Skin Healing After CGM. 2021.
- Dexcom. Rotating CGM Sites. 2021.
- Heinemann L, Diabetes Technol Ther, 2018.
- Klonoff DC, J Diabetes Sci Technol, 2015.
- Garg S, Diabetes Technol Ther, 2017.
- Battelino T, J Diabetes Sci Technol, 2019.
- ADA. Sensitive Skin CGM Tips. 2020.
- NHS. Reapplying CGM Sensors Safely. 2020.
- Brownlee M. Diabetes Management Overview. Diabetes Care, 2020.
One thought on “How to Remove a Continuous Glucose Monitor the Right Way”